As winter approaches, the desire to maintain a warm and cozy home becomes a top priority. Undertaking the process of window replacement requires careful planning and preparation, but it offers the promise of saving you money on your energy bills while also enhancing your home’s appearance and increasing its curb appeal.
Preparation Steps Before Window Replacement
The journey toward window replacement begins long before the actual installation. Here are the essential steps to consider before embarking on your window replacement project:
- Research and Select a Reputable Window Replacement Company: Start by conducting thorough research to identify a reputable window replacement company. At Custom Window Designs, we are renowned for our exceptional installation work and our ability to craft custom windows tailored to your specific needs. Once you’ve scheduled an appointment with us, we visit your home to measure all the windows, discuss any concerns you may have, and provide additional information to guide your choices.
- Choosing the Perfect Windows: After deciding on the ideal windows for your home, here is what you can expect during the window replacement process:
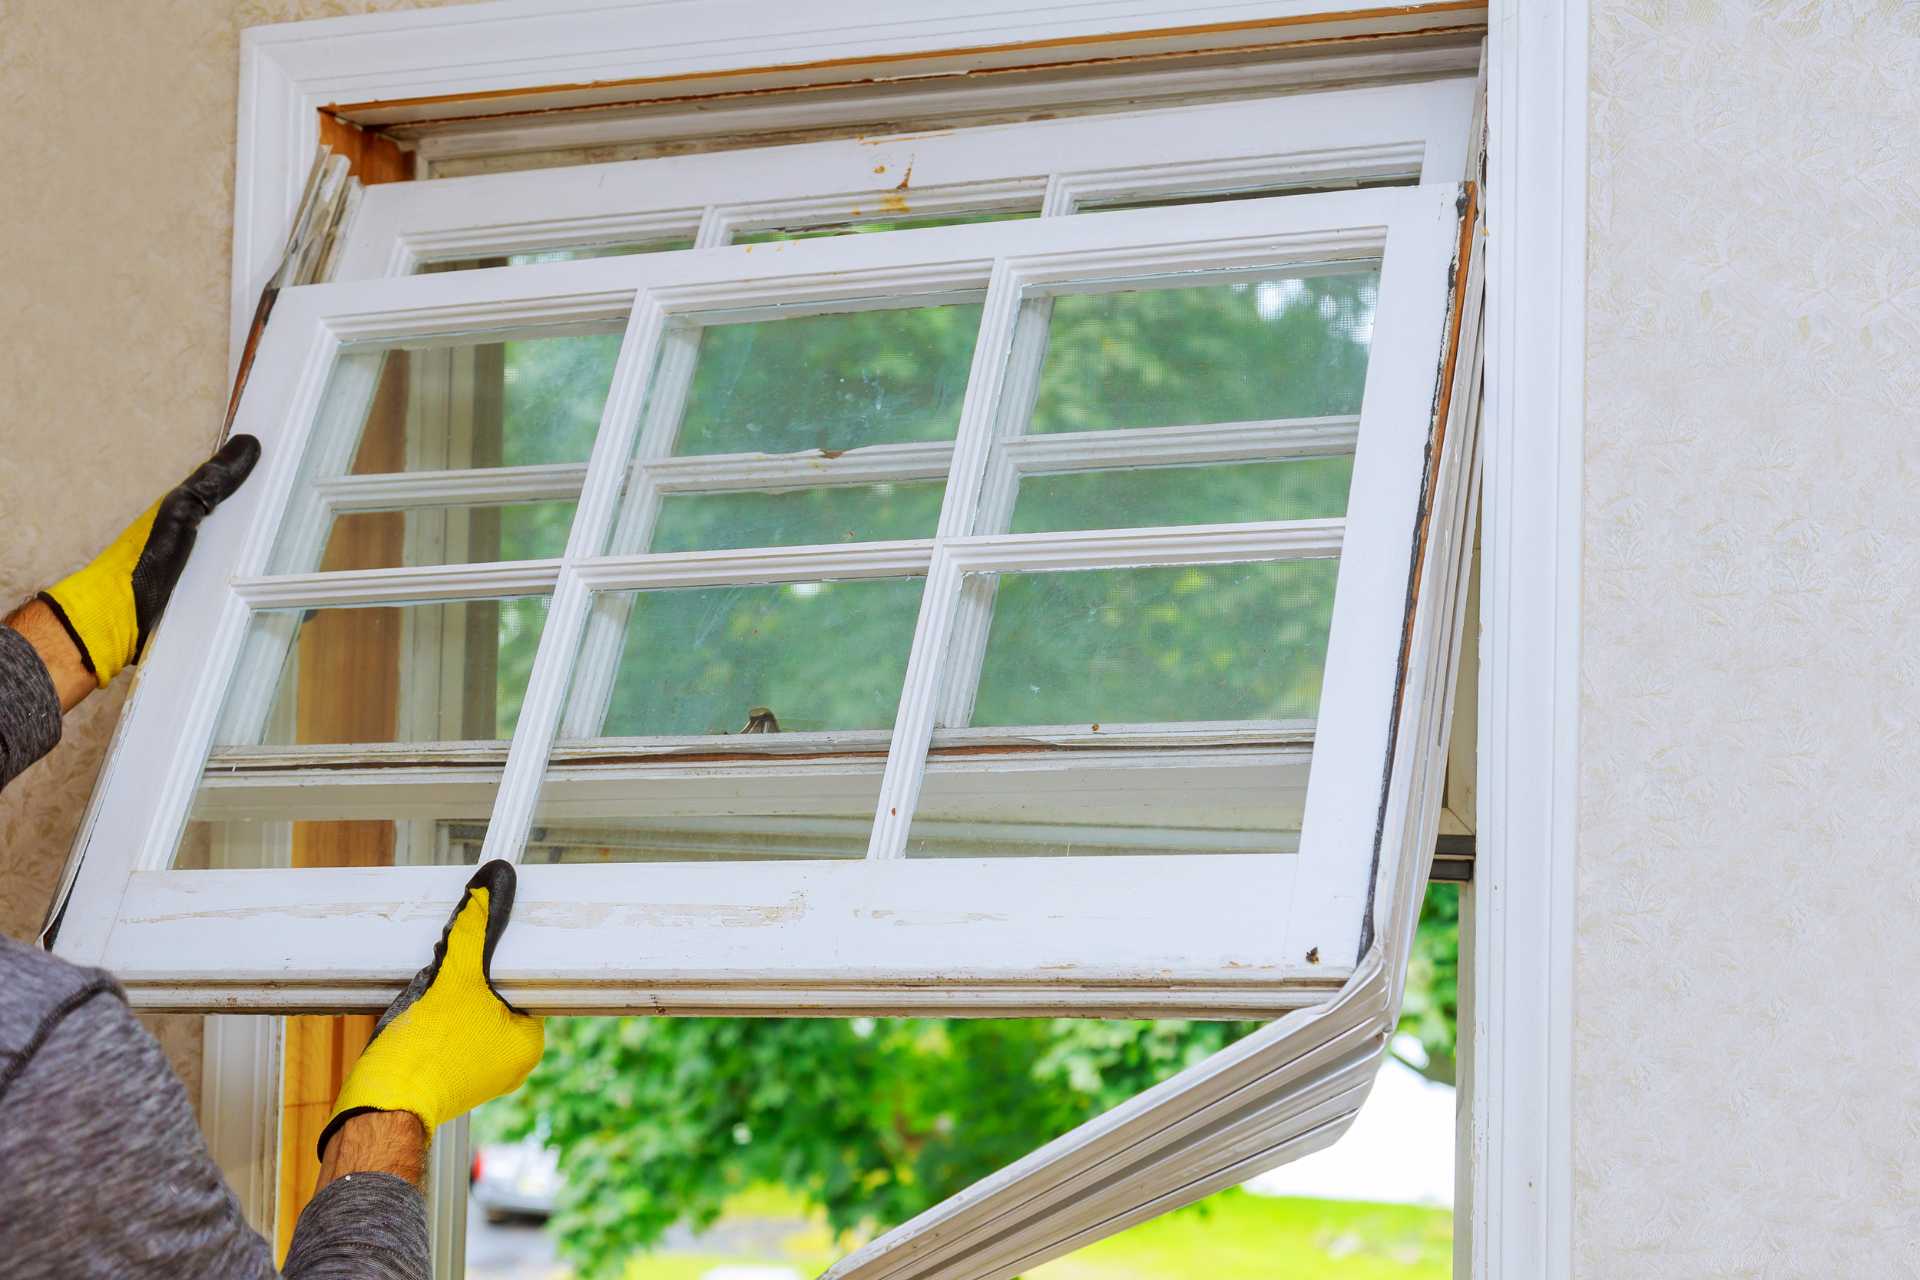
- Removal of Window Jamb Extension: The window trim and jamb extension around the old window are carefully removed. The jamb extension is a piece of wood that has been positioned and attached to the window jamb to align it with the wall. The old window is then unscrewed from the jamb and removed with precision.
- Preparing the Opening for the New Window: The next step involves preparing the opening for the new window. An inspection of the window jamb is conducted to identify any damage, with damaged jambs being replaced or repaired as necessary. This repair or replacement may impact the size of your window opening, so it is re-measured, with an additional 1/4” to 3/8” added to create extra space on the exterior dimensions for the new window.
- Inspection of Window Components: The window stop is inspected next. While window stops can typically be reused, any signs of damage warrant replacement. Before applying any silicone, a dry fit of the new window ensures there are no issues with its fit. Once it fits seamlessly with no complications, the new window is removed.
- Installing the Window into Position: To initiate the installation, silicone is applied to the inner edge of the window, and it is then slid into place. Proper alignment is crucial, so a level is used along the top of the window. Cedar shims are inserted between the bottom of the window frame and jamb to maintain a level position, an essential aspect of the installation.
- Securing the Window: Two screws are inserted on each side of the window, one at the top and one at the bottom, utilizing pre-drilled holes in the window frame. After securing the window, insulation is added to fill any gaps around the window frame and within the wall studs, with spray foam being used for hard-to-reach spots.
- Installing Window Moulding: The final touch involves installing your pre-selected style of moulding around the window. Each piece is meticulously measured and cut with a mitre saw to the appropriate length, with the trim being attached using finishing nails.
- Finishing Touches: The last step includes filling any nail holes with stainable or paintable wood putty and then staining or painting the trim moulding to achieve a polished and harmonious finish.
By following these steps and investing in window replacement, you not only ensure energy efficiency but also breathe new life into your home’s appearance, making it more comfortable and inviting.


